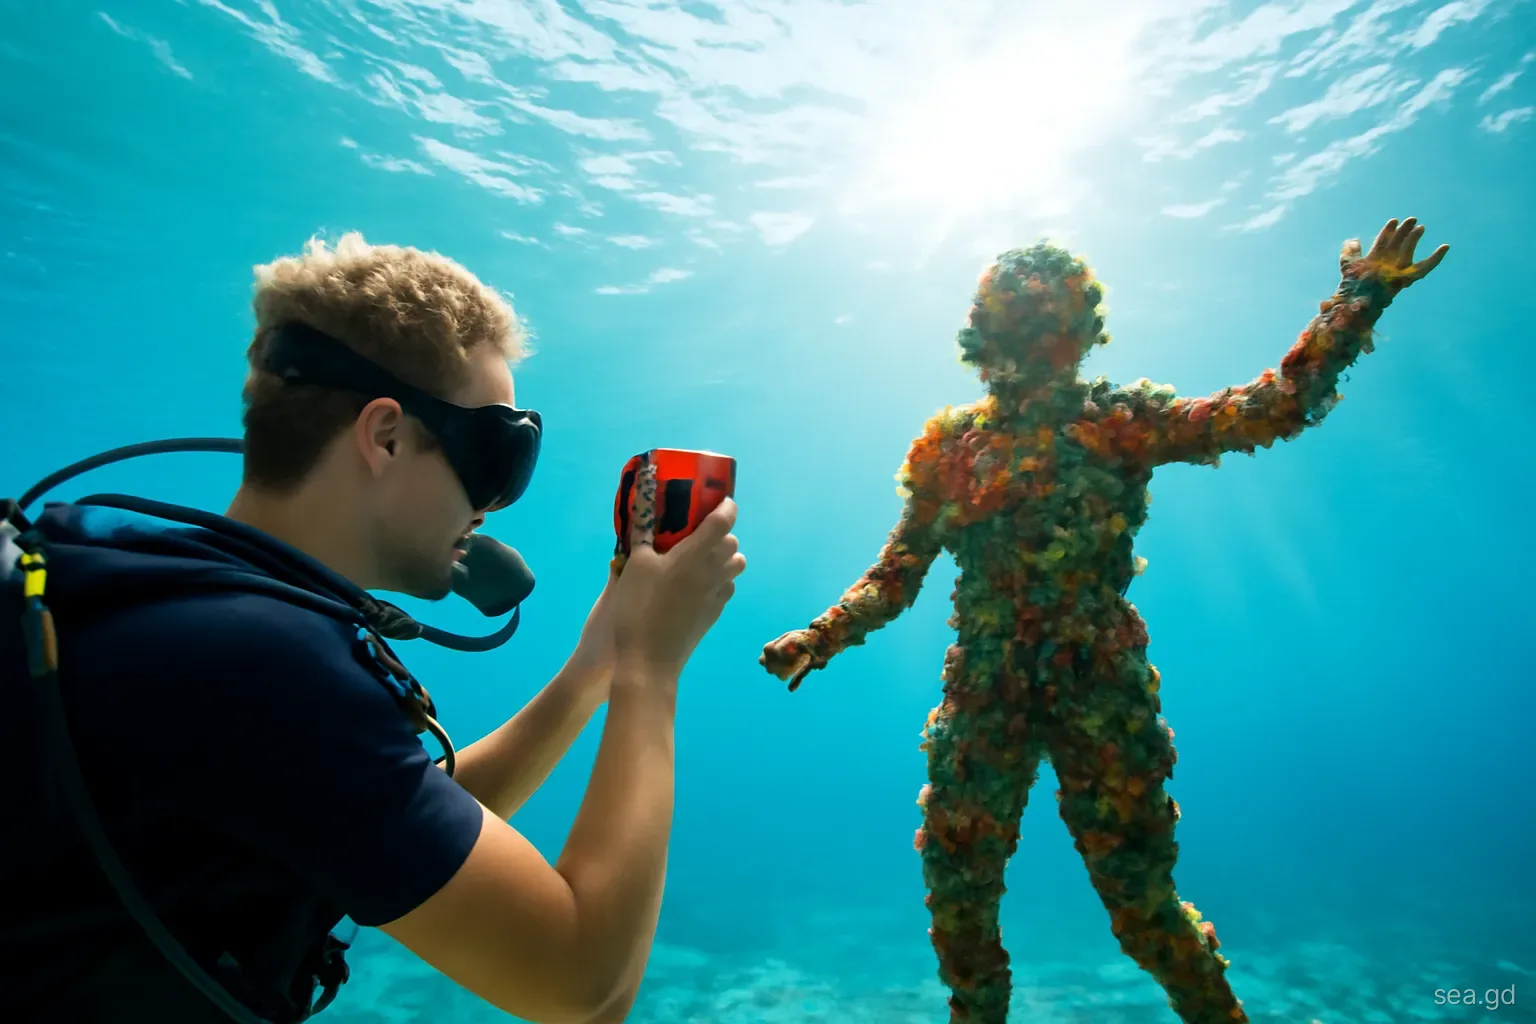
Few places in the Caribbean are photographed underwater as often as the Moliniere sculptures, and few produce as many disappointing pictures. The usual result is a blue-green, slightly blurred figure taken from straight above, with a fin in one corner. Yet the park is shallow, often clear and full of strong shapes, which makes it one of the most rewarding places in Grenada to learn underwater photography.
The keys are light, angle and patience, more than expensive equipment. This page covers the light conditions that work, the angles that make the figures look like more than grey lumps, settings for action cameras and compacts, colour correction, and the mistakes that ruin both pictures and sculptures.
Why the park is easy and hard to photograph
On the easy side, the main works sit in a few metres of water, so there is plenty of natural light, and you can photograph many of them while snorkelling. The subjects do not move, the human forms are instantly readable, and the encrusting life adds colour and texture at close range.
On the hard side, water absorbs red and orange light quickly, so even at four or five metres a picture taken without correction looks blue-green. The sand bottom reflects light and can create a washed-out look. Fine sediment hangs in the water after rain or when swimmers kick it up, and any light pointed straight at it shows up as speckles called backscatter. Surge moves you around, and other snorkellers and divers wander into frame.
Most of these problems are solved by choosing your conditions, getting close and thinking about angle before you press the shutter.
Kit that works
Action cameras. Small action cameras are the most common choice, and they work well here because the depth is modest and the light good. Use a wrist strap or a floating handle; dropped cameras sink fast.
Compact cameras in housings. A compact with manual controls and a proper housing gives better image quality and the ability to shoot RAW, which makes colour correction much easier afterwards.
Phones in housings. Phone housings and pouches have improved, but a leak destroys an expensive device. Test any housing in a sink or pool before the trip, and never rely on a phone's own water resistance rating for snorkelling.
Red filters. A red or magenta filter on an action camera restores some warmth to natural-light shots between roughly three and ten metres. Remove it near the surface or it will turn everything pink.
Lights and strobes. Artificial light brings back true colour on close subjects, such as faces covered in sponge or coral, but only within a metre or so. Position lights out to the sides rather than next to the lens to reduce backscatter.
Light and timing
Bright, high sun from late morning to early afternoon gives the most light at depth and sends rays of sunlight down through the water, which look spectacular around the figures. Calm water is just as important: a rippled surface breaks up the light and blurs silhouettes, while a flat surface gives clean beams and clear reflections.
Overcast days soften shadows and can suit close detail shots, but they make wide views look flat and grey. Visibility matters more than anything: after heavy rain, sediment from the hills can cloud the bay for a day or two, so if you have a choice of days, pick one after a dry spell.
Position relative to the sun shapes the picture. With the sun behind you, colours and textures show; facing towards the sun, the figures become dark silhouettes against bright water, which suits the human outlines of the sculptures particularly well.
Angles that make the figures come alive
Straight-down shots from the surface are the least interesting way to show a sculpture. These approaches produce far stronger images:
- Shoot upwards: get low, if you can dive or freedive safely, and angle the camera towards the surface. The figure stands out against bright water and the sunlit surface, often with rays behind it.
- Eye level: photograph faces from their own height. The cast faces carry most of the emotional weight, and eye-level shots feel like portraits rather than records.
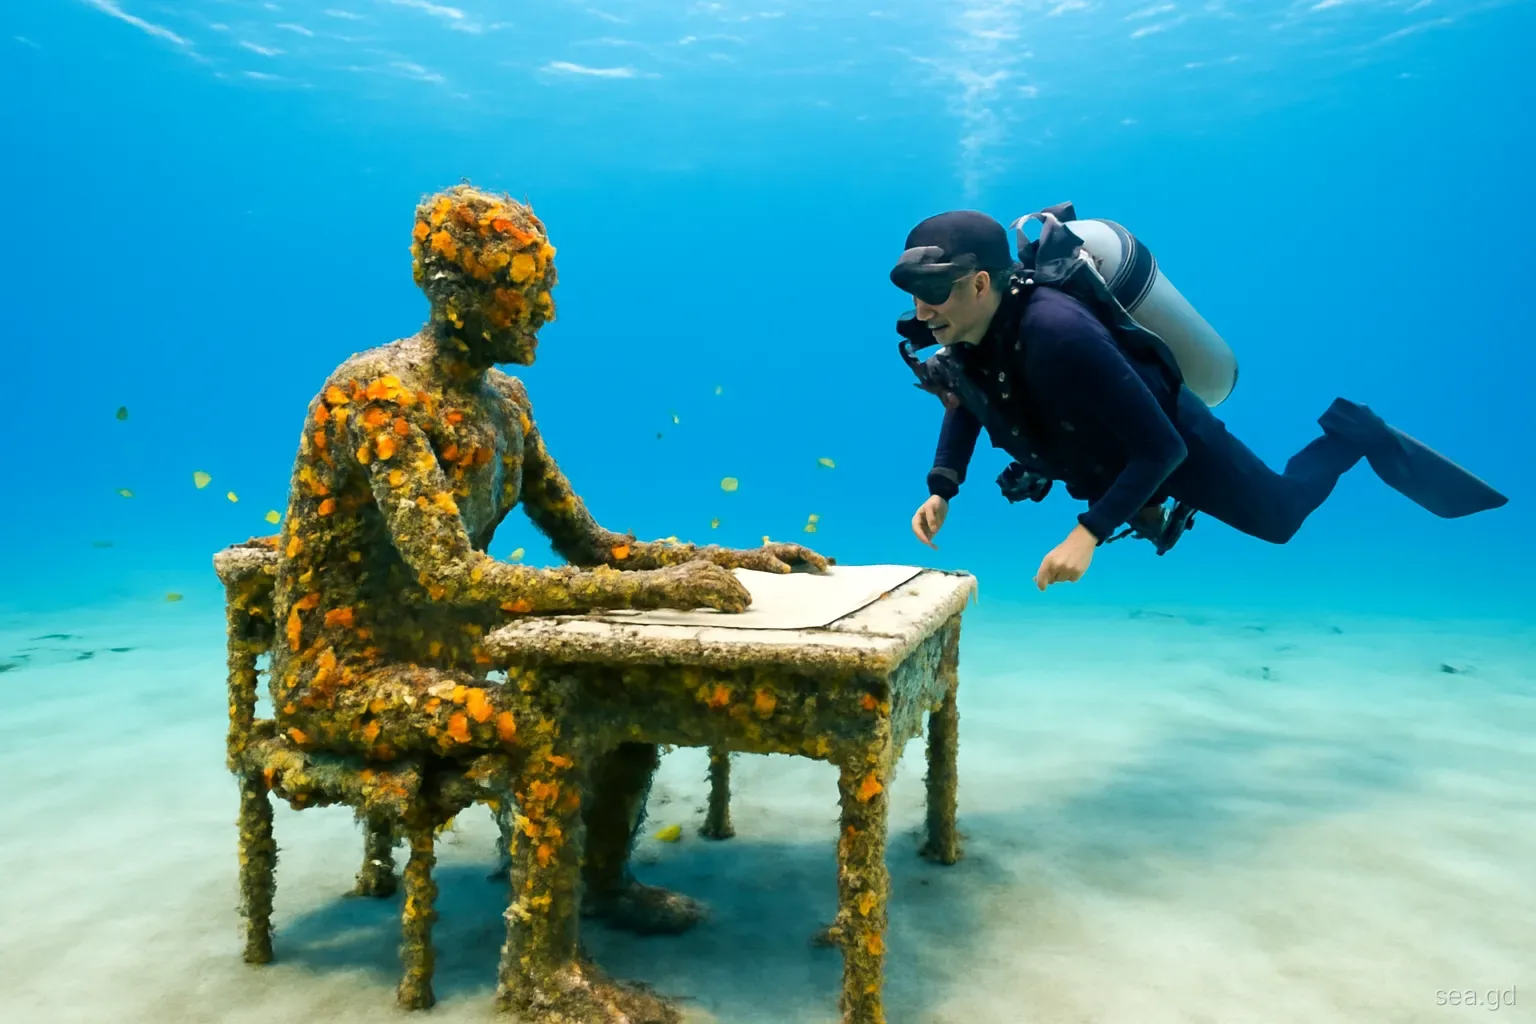
- Use a person for scale: a diver or snorkeller in the background, hovering without touching, shows the size of the work and adds a human element. Agree positions with your buddy before the dive.
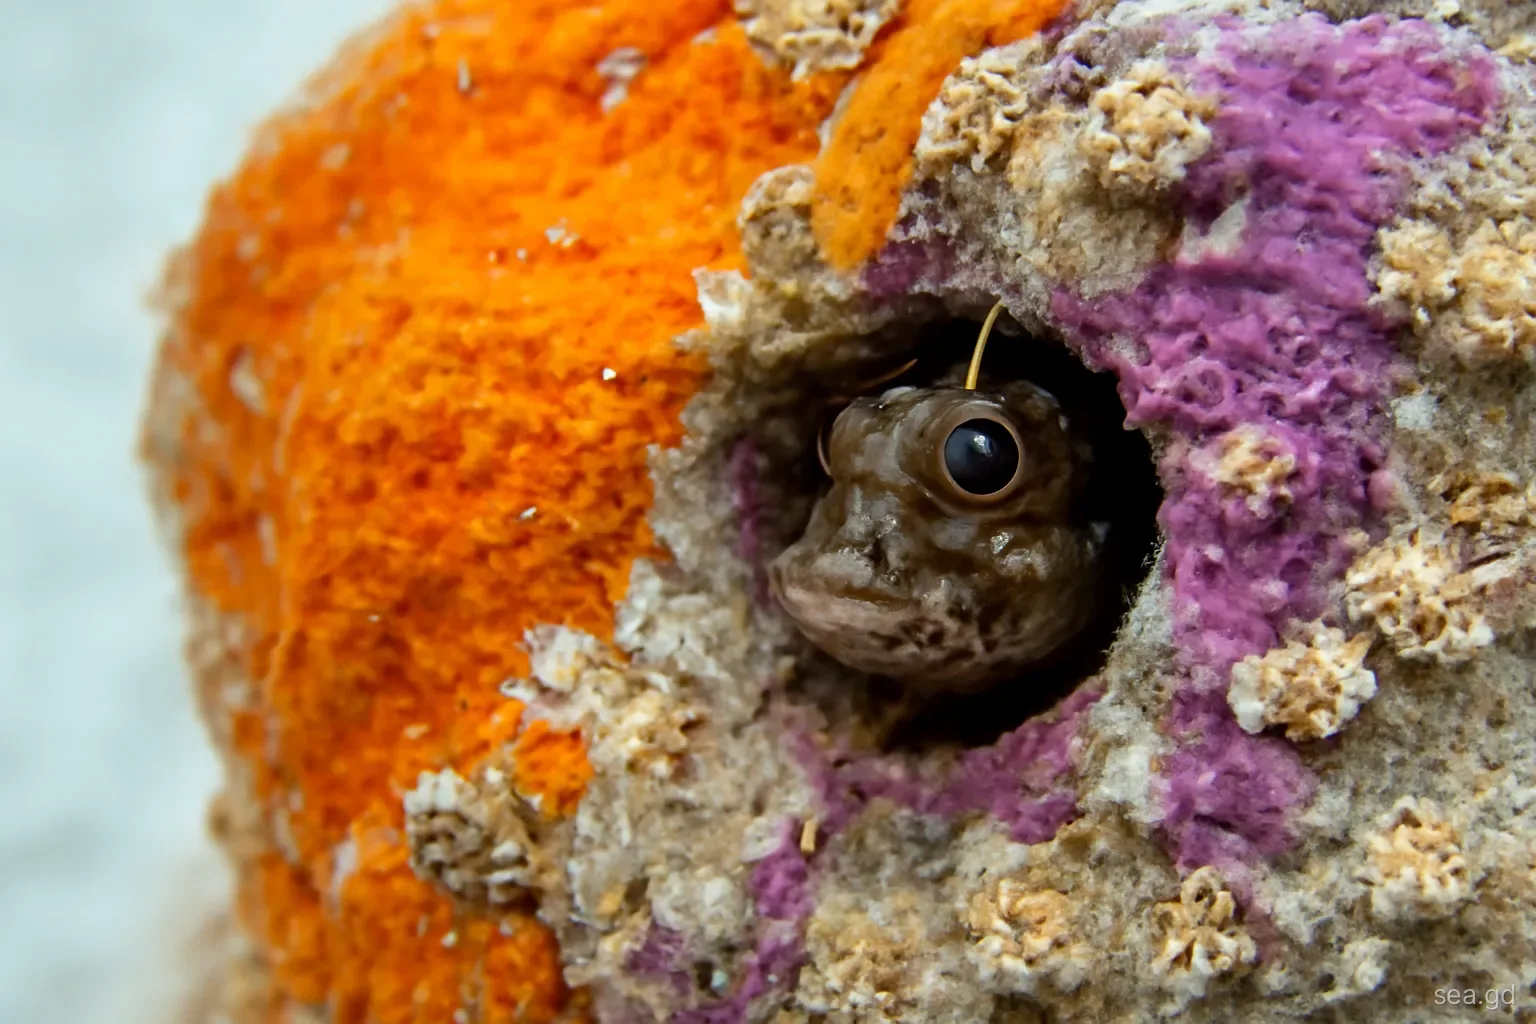
- Details: hands, a face partly covered in sponge, a fish sheltering in a fold of concrete. Close shots show the transformation that wide shots miss.
- Split shots: half above, half below the water, with the green hillside above and a sculpture below. This needs a dome port, calm water, bright light and a shallow piece close to the surface.
- Groups as patterns: for the ring of children or the scattered reclining figures, a slightly raised viewpoint, from a metre or two above, can show the arrangement as a whole without the flatness of a vertical shot.
Settings to start with
Action cameras. Use the widest field of view, high resolution and a high frame rate for video, then pull stills from the footage if you prefer. Turn on any underwater colour mode or use a filter. Shoot bursts for stills to catch a moment without motion blur from surge.
Compacts. Start with a shutter speed around 1/125 second or faster to freeze movement, an aperture of about f/5.6 to f/8 for depth of field, and ISO as low as the light allows. Shoot RAW.
White balance. Many compacts allow a custom white balance taken from a white slate or the sand at the depth you are shooting. Reset it when you change depth by more than a couple of metres.
Focus. Use single-point focus on faces or key features rather than letting the camera choose, which often locks onto particles or the sand.
Video. Move slowly and steadily towards the subject rather than panning quickly, and hold each shot for several seconds. Short, steady clips edit far better than long, wandering ones.
Breath-hold photography safely
Snorkellers often duck-dive to get the angles above. Done carefully this is how many of the best shots are made, but it carries real risks.
- Only dive down with a buddy watching from the surface, and take turns: one dives, one watches.
- Never hyperventilate before a breath-hold; it raises the risk of shallow-water blackout without warning.
- Equalise early and often, and do not push for depth; most pieces can be photographed well from a couple of metres above.
- Descend away from the sculptures and approach horizontally so your fins cannot strike them.
- Surface slowly, looking up for boats, and rest properly before the next dive.
- Follow the guide's instructions; some operators ask snorkellers to stay at the surface on busy days.
Mistakes that ruin pictures, and the park
Most bad photographs here come from a few repeated errors, and some of them also damage the sculptures.
- Kneeling, standing or holding on to a figure for stability. It damages living growth and the rules prohibit it.
- Pointing a camera light straight ahead into sediment, which fills the frame with backscatter.
- Shooting from too far away; the water between camera and subject strips colour and contrast. Get closer, not more zoom.
- Leaving the red filter on at the surface, turning everything magenta.
- Ignoring the background, so other swimmers' legs and fins appear behind the figures.
- Forgetting to rinse the camera and housing in fresh water after the trip; salt crystals left in buttons and seals cause leaks on the next outing.
- Spending the whole swim behind the screen. Put the camera away for a few minutes and simply look; the best pictures often come on the second visit, once you know the pieces.
- Flying a drone over the bay without checking the rules: drone use in Grenada requires permission from the aviation authorities, and boats and swimmers make low flights hazardous.
Frequently asked questions
What is the best camera for photographing the sculpture park?
An action camera with a red filter works well for most visitors because the works are shallow and well lit. A compact camera in a housing that shoots RAW gives better colour and control. Phones in housings can work but carry a leak risk.
What time of day is best for underwater photos at Moliniere?
Late morning to early afternoon on a calm, sunny day gives the most light and the best sunbeams. Choose a day after dry weather, because rain carries sediment into the bay and reduces visibility.
Why do my underwater photos look blue?
Water absorbs red light quickly, so even a few metres down colours shift to blue and green. A red filter, custom white balance, artificial light close to the subject or colour correction of RAW files fixes most of this.
Can you fly a drone over the sculpture park?
Drone flights in Grenada require permission from the aviation authorities, and the bay is busy with boats and swimmers. Check the current rules and obtain authorisation before flying, and keep well clear of people.
Can snorkellers take good photos of the sculptures?
Yes. Many works are shallow enough to photograph from the surface, and confident snorkellers can duck-dive for better angles. Always dive with a buddy watching and never hyperventilate before a breath-hold.